INTRODUCTION
In this section, we will provide an overview of the Ledger Nano X setup tutorial and emphasize the importance of setting up the device correctly. We will also provide a link to the official Ledger shop and highlight the significance of buying from reputable sources.
- Overview of the Ledger Nano X setup tutorial
- Importance of setting up the device correctly
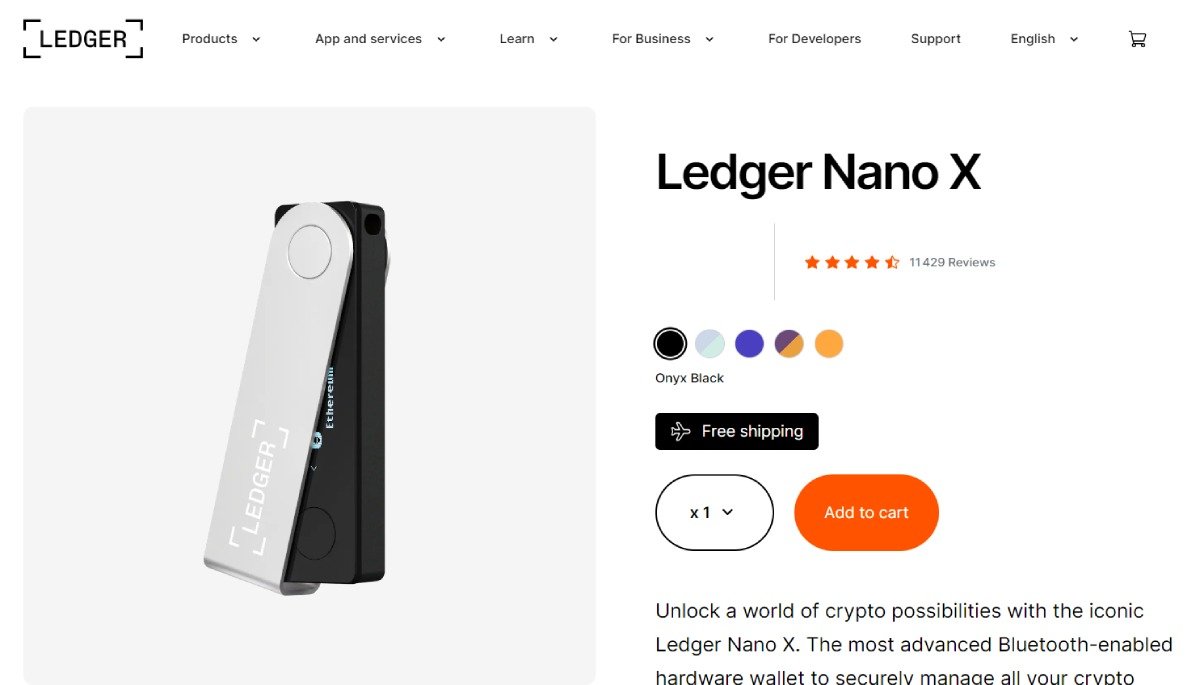
- Link to the official Ledger shop
- Note on buying from reputable sources
DEVICE SETUP
Setting up the Ledger Nano X correctly is crucial to ensure the security of your cryptocurrency. This section will guide you through the necessary steps to get your device up and running.
Unboxing the Ledger Nano X and checking for any compromises
When unboxing your Ledger Nano X, it is important to check for any signs of tampering or compromises. Make sure that the device is brand new and that none of the components have been pre-filled or tampered with. This ensures that your device has not been compromised and is safe to use.
Turning on the device and setting a PIN
To turn on the Ledger Nano X, simply hold down the black button on the left side of the device. Once the device turns on, it will prompt you to set a PIN. Choose a PIN that is between four and eight numbers long. If your PIN is only four numbers, the fifth number will act as a confirmation button. Enter your PIN and confirm it to proceed.
Understanding the importance of the 24-word recovery phrase
The 24-word recovery phrase is the most critical part of the setup process. This recovery phrase serves as the password to your wallet and allows you to restore your wallet on a different device if your Ledger Nano X is lost or damaged. It is essential to understand the significance of this recovery phrase and keep it secure.
Options for securely storing the recovery phrase
There are several options for securely storing your 24-word recovery phrase. Ledger provides recovery sheets where you can write down the words in the correct order. Alternatively, you can write the recovery phrase in your own notepad or use Ledger's metal wallets, which offer additional protection against damage from water or fire. It is crucial to keep your recovery phrase in a safe and secure location.
SETTING UP WITH LEDGER LIVE
Setting up your Ledger Nano X with Ledger Live is an important step in managing your cryptocurrencies. Here's how you can get started:
Downloading and installing Ledger Live software on your computer
To begin, download the Ledger Live software from the official Ledger website. Make sure to choose the version that is compatible with your operating system. Once downloaded, follow the on-screen instructions to install the software on your computer.
Updating the firmware and software
After installing Ledger Live, it is crucial to update both the firmware on your Ledger Nano X and the software on your computer. This ensures that you have the latest features and security enhancements. You can easily update the firmware and software through the Ledger Live interface by following the prompts.
Using the Manager feature to download blockchain applications
The Manager feature in Ledger Live allows you to download specific blockchain applications onto your Ledger Nano X. These applications are necessary to manage different cryptocurrencies. To access the Manager, connect your Ledger Nano X to your computer and open the Ledger Live software. Click on the Manager tab to view the list of available blockchain applications.
Installing applications for different cryptocurrencies
Once you are in the Manager, you can select and install the applications for the cryptocurrencies you own. For example, if you want to manage Bitcoin, Ethereum, and Binance Smart Chain, you can search for and install the corresponding applications. Make sure your Ledger Nano X is connected during the installation process to successfully install the applications.
By setting up your Ledger Nano X with Ledger Live, you can easily manage, send, and receive your cryptocurrencies in a secure and convenient way. Don't forget to regularly update your firmware and software to keep your device up to date with the latest features and security patches.
ADDING ACCOUNTS AND WALLET ADDRESSES
Once you have set up your Ledger Nano X and installed the Ledger Live software, you can start adding accounts and generating wallet addresses. Here's how:
Accessing the Accounts feature in Ledger Live
To access the Accounts feature in Ledger Live, open the software on your computer. On the left-hand side, click on "Accounts." This will allow you to manage and view your cryptocurrency accounts.
Adding different cryptocurrency accounts
To add a new cryptocurrency account, click on the "Add account" option in the top right corner. Choose the cryptocurrency you want to add, such as Bitcoin or Ethereum. Follow the prompts to add the account to your Ledger Live.
Managing and removing accounts
If you want to remove an account from Ledger Live, go to the Portfolio tab and right-click on the account you want to remove. Select "Edit account" and then click on "Remove from portfolio." This will remove the account from Ledger Live, but the coins will still be stored on the blockchain.
Generating and verifying wallet addresses
To generate a wallet address for receiving coins, go to the Accounts tab and click on the account you want to receive coins in. Then, click on the "Receive" tab on the left-hand side. Make sure your Ledger Nano X is connected and in the correct application for the blockchain you want to receive coins in.
When generating a wallet address, make sure to verify that the address shown on both Ledger Live and your Ledger Nano X device matches exactly. This ensures that you are sending coins to the correct address and helps prevent any errors or fraudulent activity.
By adding accounts and generating wallet addresses through Ledger Live, you can easily manage your cryptocurrencies and securely receive coins into your Ledger Nano X. Remember to always verify the wallet address before sending any coins and to keep your device and software updated for the latest security enhancements.
SENDING AND RECEIVING COINS
Once you have set up your Ledger Nano X and installed the Ledger Live software, you can start sending and receiving coins. Here's how:
Using the Receive feature to obtain wallet addresses
To generate a wallet address for receiving coins, open the Ledger Live software on your computer. Click on the "Accounts" tab on the left-hand side. Select the account you want to receive coins in. Then, click on the "Receive" tab on the left-hand side. Make sure your Ledger Nano X is connected and in the correct application for the blockchain you want to receive coins in.
Verifying the address on both Ledger Live and the device
When generating a wallet address, it is important to verify that the address shown on both Ledger Live and your Ledger Nano X device matches exactly. This ensures that you are sending coins to the correct address and helps prevent any errors or fraudulent activity. Confirm the address on both the software and the device before sharing it with others.
Confirming transactions on the device
When sending coins, the transaction needs to be confirmed on the Ledger Nano X device. After entering the recipient's address and the amount in the Ledger Live software, click on "Continue." On the Ledger Nano X device, review the transaction details and press the buttons to confirm and approve the transaction. This extra step adds an additional layer of security to ensure that only authorized transactions are executed.
Understanding blockchain fees and transaction process
When sending coins, it is important to be aware of blockchain fees. Blockchain fees are the charges associated with processing and verifying transactions on the blockchain network. These fees can vary depending on network congestion and the size of the transaction. Ledger Live provides an estimation of the fees based on current network conditions. Make sure to review and confirm the fees before proceeding with the transaction.
Once a transaction is initiated, it will be broadcasted to the blockchain network for validation. The transaction will then be processed and added to a block on the blockchain. The time it takes for the transaction to be confirmed can vary depending on network activity and the blockchain being used. Ledger Live provides real-time updates on transaction statuses, allowing you to track the progress of your transactions.
By understanding how to send and receive coins using Ledger Live and the Ledger Nano X device, you can securely manage your cryptocurrencies and ensure that transactions are executed accurately. Remember to always verify wallet addresses, confirm transactions on the device, and stay informed about blockchain fees and transaction processes.
TRACKING AND MANAGING PORTFOLIO
Tracking and managing your portfolio is an essential aspect of cryptocurrency management. With the Ledger Nano X and Ledger Live, you have access to powerful tools to monitor and control your wallet balances. Here are some key features and limitations to keep in mind:
Using the Portfolio tab to monitor wallet balances
The Portfolio tab in Ledger Live allows you to view and track the balances of your cryptocurrency wallets. It provides real-time updates on the value of your holdings, helping you stay informed about your overall portfolio performance. You can easily see the current balance of each cryptocurrency you own, as well as the total value of your portfolio.
Viewing latest operations and transaction history
Within the Portfolio tab, you can also access the Latest Operations section, which displays a detailed history of your transactions. This includes information on the coins you have sent and received, as well as the associated fees. It's a useful tool for reviewing your transaction history and keeping track of your financial activities.
Limitations of tracking coins tied up in DeFi
While Ledger Live provides comprehensive tracking capabilities, it has limitations when it comes to monitoring coins tied up in decentralized finance (DeFi) platforms. If you have funds invested in DeFi protocols like lending or yield farming, Ledger Live may not be able to display the accurate value of these holdings. It's important to keep this in mind and consider using alternative portfolio trackers specifically designed for DeFi investments.
Swapping cryptocurrencies within Ledger Live
Ledger Live also offers a built-in swapping feature that allows you to exchange one cryptocurrency for another directly within the app. Through a collaboration with FTX, you can swap supported cryptocurrencies at competitive rates. This feature provides a convenient and secure way to manage your portfolio without needing to use external exchanges.
By utilizing the Portfolio tab, viewing latest operations, keeping track of your DeFi investments, and taking advantage of the built-in swapping feature, you can effectively track and manage your cryptocurrency portfolio with the Ledger Nano X and Ledger Live. Remember to regularly update your portfolio, review transaction history, and stay informed about the latest developments in the crypto market.
LINKING LEDGER NANO X WITH METAMASK
Linking your Ledger Nano X with Metamask allows you to securely manage your cryptocurrency assets and interact with decentralized finance (DeFi) platforms. Here's how you can set it up:
Introduction to Metamask and its benefits
Metamask is a popular Ethereum wallet and browser extension that allows users to interact with decentralized applications (dApps) and securely manage their Ethereum-based assets. By linking your Ledger Nano X with Metamask, you can leverage the security of your hardware wallet while enjoying the convenience and functionality of Metamask.
Adding Ledger Nano X as a hardware wallet in Metamask
To add your Ledger Nano X as a hardware wallet in Metamask, you need to follow these steps:
- Install the Metamask browser extension from the official website and create a new wallet or import an existing one.
- Click on the Metamask extension icon in your browser and select "Connect Hardware Wallet."
- Choose "Ledger" as the type of hardware wallet you want to connect.
- Connect your Ledger Nano X to your computer using the USB cable.
- Unlock your Ledger Nano X and open the Ethereum app on the device.
- Follow the on-screen instructions in Metamask to complete the connection process.
Setting up multiple accounts for different networks
Once you have linked your Ledger Nano X with Metamask, you can set up multiple accounts for different networks. Here's how:
- In Metamask, click on the account avatar in the top right corner and select "Create Account."
- Choose the network you want to create an account for, such as Ethereum or Binance Smart Chain.
- Follow the prompts to create a new account, and make sure your Ledger Nano X is connected and unlocked during the process.
Unlocking and signing transactions with the device
When using Metamask with your Ledger Nano X, you will need to unlock and sign transactions on the device for an added layer of security. Here's how:
- Initiate a transaction in Metamask, specifying the recipient address and the amount you want to send.
- Review the transaction details on the Metamask interface and click "Confirm" or "Sign" to proceed.
- On your Ledger Nano X device, verify the transaction details and press the buttons to confirm and sign the transaction.
By linking your Ledger Nano X with Metamask, you can securely manage your cryptocurrency assets, interact with DeFi platforms, and enjoy the benefits of both platforms. Remember to always verify transaction details on both Metamask and your Ledger Nano X device to ensure the security of your funds.
LINKING LEDGER NANO X WITH MOBILE DEVICE
Linking your Ledger Nano X with a mobile device via Bluetooth allows for convenient management of your cryptocurrency assets on the go. Here's how you can set it up:
Pairing Ledger Nano X with a mobile device via Bluetooth
To pair your Ledger Nano X with a mobile device, you'll need to download and install the Ledger Live app on your phone. Make sure Bluetooth is enabled on your device. Open the app and click on "My Ledger" on the right-hand side. Select "Connect Hardware Wallet" and choose "Ledger Nano X" as the device type. Follow the on-screen instructions to complete the pairing process.
Syncing wallet balances and transactions on the mobile app
Once your Ledger Nano X is paired with your mobile device, you can sync your wallet balances and transactions on the Ledger Live mobile app. This allows you to easily monitor the value of your holdings and track your transaction history. The app provides real-time updates, keeping you informed about your portfolio performance.
Adding Ledger Live from the computer to the mobile app
To add your Ledger Live accounts from your computer to the mobile app, go to the Wallet tab on the left-hand side of the app. Scroll down to "Add More" and select "Import from Desktop." Open your Ledger Live software on your computer and go to Settings > Accounts. Click on "Export" to generate a QR code. Scan the QR code with your mobile app to import your accounts.
Managing accounts and accessing wallets on the go
With your Ledger Nano X linked to your mobile device, you can easily manage your accounts and access your wallets wherever you are. You can view your balances, send and receive coins, and track your transaction history directly from the Ledger Live mobile app. Remember to always confirm transactions on your Ledger Nano X device for added security.
By linking your Ledger Nano X with your mobile device via Bluetooth, you can enjoy the convenience of managing your cryptocurrency assets on the go. Be sure to keep your devices updated and follow security best practices to ensure the safety of your funds.
FAQ
Here are some common questions and concerns about Ledger Nano X setup:
Common questions and concerns about Ledger Nano X setup
- How do I set up the Ledger Nano X correctly?
- What should I do if I suspect my device has been compromised?
- How can I recover a lost or damaged Ledger Nano X device?
- Can I use Ledger Live with decentralized exchanges?
- What are some common issues when setting up the Ledger Nano X?
How to recover a lost or damaged device
If you have lost or damaged your Ledger Nano X device, don't panic. The most important thing is to have your 24-word recovery phrase. With this recovery phrase, you can restore your wallet on a different device. Simply set up a new Ledger Nano X and use the recovery phrase during the setup process. This will restore your wallet and all of its contents.
Using Ledger Live with decentralized exchanges
Yes, you can use Ledger Live with decentralized exchanges (DEXs) that are supported by the Ledger Live platform. Ledger Live provides a built-in swapping feature that allows you to exchange one cryptocurrency for another directly within the app. Additionally, you can link your Ledger Nano X with popular wallets like MetaMask, which enables you to securely manage your cryptocurrency assets and interact with DEXs.
Troubleshooting common issues
If you encounter any issues during the Ledger Nano X setup process, there are a few steps you can take to troubleshoot the problem. First, make sure that you are using the latest firmware and software versions for both your Ledger Nano X and Ledger Live. Updating to the latest versions can often resolve any compatibility issues. Additionally, double-check that you are following the setup instructions correctly and that your device is connected properly to your computer. If you continue to experience issues, Ledger provides comprehensive support resources on their website, including FAQs, troubleshooting guides, and a community forum.
CRYPTO TIPS CRYPTO CASINO BONUSES (250+)