INTRODUCTION
The Ledger Nano S Plus device is a powerful tool for securely managing your cryptocurrency assets. In this tutorial, we will explore the key features and steps to set up and use this device effectively.
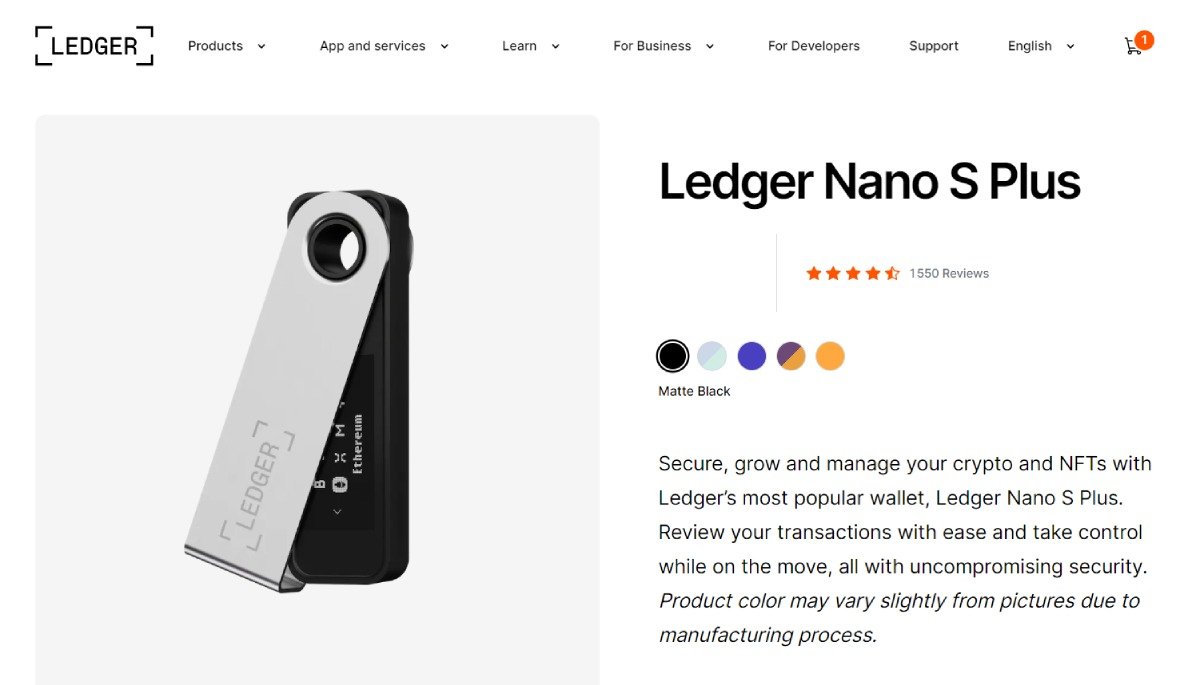
Overview of the Ledger Nano S Plus device
The Ledger Nano S Plus is a hardware wallet that provides a secure offline storage solution for your cryptocurrencies. It offers robust security features, such as a PIN code and a recovery phrase, to protect your funds from unauthorized access.
Importance of setting up with Ledger Live software
To fully utilize the Ledger Nano S Plus, it is crucial to set it up with the Ledger Live software. Ledger Live is a user-friendly interface that allows you to manage your crypto assets, install applications, and securely send and receive funds.
Ensuring device authenticity and security
When purchasing a Ledger Nano S Plus, it is essential to verify its authenticity. Buying from the official Ledger store ensures that you receive a genuine device and minimizes the risk of tampering. It is crucial to ensure that the device is fresh and not pre-set up by someone else to maintain maximum security.
Importance of recovery phrase
The recovery phrase is a critical element in securing your crypto assets. It is a set of words that act as a backup for your wallet. It is imperative to write down the recovery phrase and store it in a safe place. Ledger offers metal wallets that provide additional durability and protection for your recovery phrase.
STEP 1: Obtaining the Ledger Nano S Plus
Before getting started with the Ledger Nano S Plus, it is important to obtain the device from a reliable source. The official Ledger store is the recommended source for purchasing the device. This ensures that you receive a genuine device without any compromise.
Obtaining an uncompromised device is crucial for ensuring the security of your cryptocurrency assets. If the device has already been set up or if there are any signs of tampering, it is a red flag indicating that the device may have been compromised. Therefore, it is essential to check the package contents and verify that everything is fresh and in its original condition.
When purchasing the Ledger Nano S Plus, it is highly recommended to avoid third-party sellers or unauthorized resellers. These sources may not provide genuine devices and could potentially compromise the security of your crypto assets.
STEP 2: Downloading Ledger Live Software
The Ledger Live software is essential for setting up and managing your Ledger Nano S Plus device. It provides a user-friendly interface that allows you to securely manage your crypto assets, install applications, and perform transactions.
Importance of Ledger Live for device setup
To fully utilize the features of the Ledger Nano S Plus, it is crucial to set it up with the Ledger Live software. Ledger Live acts as the bridge between your device and your computer, facilitating the setup process and ensuring secure communication between the two.
Link to download Ledger Live software
To download the Ledger Live software, visit the official Ledger website and navigate to the Downloads page. Choose the appropriate version for your operating system (Windows, Mac, or Linux) and click on the download link. Follow the on-screen instructions to install the software on your computer.
Connecting Ledger Nano S Plus to computer
Once you have successfully downloaded and installed Ledger Live, connect your Ledger Nano S Plus device to your computer using the provided USB cable. Ensure that the device is properly plugged in and recognized by your computer.
Starting up the device for the first time
After connecting the device, open the Ledger Live software on your computer. If this is your first time using the device, you will be prompted to choose between setting up a new device or reloading a previous wallet. Select the appropriate option and follow the on-screen instructions to set up your device.
During the setup process, you will be required to set a PIN number for your device. Choose a unique and secure PIN to protect your funds from unauthorized access. Additionally, you will need to set up your recovery phrase, which serves as a backup for your wallet. Make sure to write down the recovery phrase and store it in a safe place. Ledger also offers metal wallets that provide enhanced durability and protection for your recovery phrase.
Once the setup process is complete, your Ledger Nano S Plus is ready to use. You can now manage your crypto assets, install applications, and securely send and receive funds using the Ledger Live software.
STEP 3: Setting Up the Device
When setting up your Ledger Nano S Plus device, there are several important steps to follow to ensure the security of your cryptocurrency assets.
Choosing between starting a new device or reloading a previous wallet
When you first start up your Ledger Nano S Plus, you will be prompted to choose between starting a new device or reloading a previous wallet. If this is your first time using the device, select the option to start a new device. If you previously had a wallet on another Ledger device and want to transfer it to the Nano S Plus, choose the option to reload a previous wallet.
Setting up a PIN number
During the setup process, you will be required to set a PIN number for your device. It is important to choose a unique and secure PIN to prevent unauthorized access to your funds. Use the buttons on the device to select your PIN number, and confirm your selection when prompted.
Importance of the recovery phrase
The recovery phrase is a vital part of securing your crypto assets. It acts as a backup for your wallet and allows you to regain access to your funds if your device is lost, stolen, or damaged. It is crucial to set up your recovery phrase during the device setup process.
Storing the recovery phrase securely
After setting up your recovery phrase, it is essential to store it securely. Ledger provides a recovery card, but it is recommended to use a more secure method, such as a metal wallet. Metal wallets offer enhanced durability and protection for your recovery phrase. Keep your recovery phrase in a safe place, away from prying eyes and potential threats.
By following these steps, you can ensure the proper setup and security of your Ledger Nano S Plus device, giving you peace of mind while managing your cryptocurrency assets.
STEP 4: Installing Applications and Adding Accounts
To fully utilize the features of the Ledger Nano S Plus, it is essential to download and install the necessary blockchain applications.
Downloading necessary blockchain applications
Using the Ledger Live software, you can easily download the applications you need for different cryptocurrencies. Ledger Live provides a user-friendly interface that allows you to manage your crypto assets and install applications securely.
Installing applications through Ledger Live
Once you have downloaded Ledger Live software, connect your Ledger Nano S Plus device to your computer using the provided USB cable. Open the Ledger Live software and follow the on-screen instructions to install the applications for the desired cryptocurrencies.
Adding multiple accounts for different cryptocurrencies
With the installed applications, you can now add multiple accounts for different cryptocurrencies. Ledger Nano S Plus supports around 5,500 coins, including popular cryptocurrencies like Bitcoin, Ethereum, Binance Coin, and Cardano.
To add a new account, open Ledger Live and go to the "Accounts" section. Click on "Add Account" and choose the crypto asset you want to add. Follow the on-screen instructions and confirm the process on your Ledger Nano S Plus device.
Compatibility of Ledger Nano S Plus with various coins
The Ledger Nano S Plus is compatible with a wide range of cryptocurrencies. You can check the Ledger Live software or the official Ledger website for a complete list of supported coins.
By installing the necessary applications and adding accounts for different cryptocurrencies, you can conveniently manage your crypto assets on the Ledger Nano S Plus device.
STEP 5: Receiving Crypto onto Your Device
Once you have set up your Ledger Nano S Plus device and installed the necessary applications, you can now receive cryptocurrencies onto your device. Here are the steps to follow:
Using Ledger Live to receive cryptocurrencies
Ledger Live provides a user-friendly interface that allows you to manage your crypto assets, including receiving funds. Open Ledger Live on your computer and make sure your Ledger Nano S Plus is connected.
Ensuring device connection and PIN entry
Before receiving cryptocurrencies, ensure that your Ledger Nano S Plus is properly connected to your computer. Enter your PIN number on the device to unlock it and authorize transactions.
Downloading supported applications for specific assets
To receive a specific cryptocurrency, you need to download and install the corresponding application from Ledger Live. Search for the desired cryptocurrency in the app catalog and install it on your device.
Receiving assets on Ledger Nano S Plus
Once you have the necessary application installed, you can generate a wallet address to receive assets. In Ledger Live, go to the "Receive" section and choose the desired cryptocurrency. Verify that your Ledger Nano S Plus is connected and unlocked, then click on "Continue".
Double-check that the wallet address shown on Ledger Live matches the address displayed on your device. This ensures that there is no tampering or unauthorized access to your funds. If the addresses match, you can copy the wallet address from Ledger Live and use it to receive cryptocurrencies from exchanges or other wallets.
Remember that some assets may not be directly supported in Ledger Live. In such cases, you can still receive those assets by using a blockchain explorer and entering your wallet address. This allows you to view and manage your assets even if they are not visible in Ledger Live.
By following these steps, you can securely receive cryptocurrencies onto your Ledger Nano S Plus device, ensuring the safety of your funds.
STEP 6: Sending Crypto from Your Device
Now that you have set up your Ledger Nano S Plus device and installed the necessary applications, you can start sending cryptocurrencies from your device to other wallets or exchanges. Here are the steps to follow:
Using Ledger Live to send cryptocurrencies
Ledger Live provides a user-friendly interface that allows you to securely send your crypto assets. Open Ledger Live on your computer and ensure that your Ledger Nano S Plus is properly connected.
Confirming device connection and PIN entry
Before sending cryptocurrencies, make sure that your Ledger Nano S Plus is securely connected to your computer. Enter your PIN number on the device to unlock it and authorize transactions.
Obtaining recipient wallet address
To send cryptocurrencies, you will need the recipient's wallet address. This is a unique identifier that identifies the destination wallet. Obtain the recipient's wallet address from the intended recipient or the exchange where you wish to send the crypto.
Paying blockchain fees for transactions
When sending cryptocurrencies, you will need to pay blockchain fees. These fees are necessary to process and verify the transaction on the respective blockchain network. The fees vary depending on the blockchain and the amount of crypto being sent.
In Ledger Live, select the cryptocurrency you want to send and enter the recipient's wallet address. Confirm the transaction details on your Ledger Nano S Plus device and authorize the transaction by following the on-screen instructions.
Once the transaction is confirmed, the crypto will be sent from your Ledger Nano S Plus device to the recipient's wallet. It may take some time for the transaction to be processed and confirmed on the blockchain network.
It is important to double-check the recipient's wallet address before confirming the transaction to ensure that the crypto is sent to the correct destination. Sending crypto to the wrong address may result in permanent loss of funds.
By following these steps, you can securely send cryptocurrencies from your Ledger Nano S Plus device, ensuring the accuracy and safety of your transactions.
STEP 7: Monitoring and Managing Your Assets
Once you have set up your Ledger Nano S Plus device, it is important to monitor and manage your assets effectively. Here are some key points to consider:
Overview of Ledger portfolio
Using the Ledger Live software, you can get an overview of your portfolio and track the performance of your crypto assets. The portfolio section provides a comprehensive view of your holdings, including the value of each asset and any recent transactions.
Viewing assets and transactions
With Ledger Live, you can easily view all your assets and transactions in one place. It provides detailed information about each asset, including the current balance, transaction history, and market value. This allows you to stay informed about your crypto investments.
Exporting accounts for mobile app integration
If you prefer to monitor your assets on your mobile device, you can export your Ledger accounts to the Ledger Live mobile app. This allows you to conveniently view your balances and transactions on the go. Simply export your accounts from the settings section of Ledger Live and scan the QR code on your phone to link your device.
Using alternative software wallets for specific chains
While Ledger Live is the recommended software for managing your assets, there are alternative software wallets available for specific blockchain networks. For example, if you are using Ethereum, you can link your Ledger Nano S Plus with popular wallets like MetaMask to interact with decentralized applications (DApps) and perform transactions directly from your device.
It is important to note that when using alternative software wallets, you should still ensure the security and authenticity of your Ledger Nano S Plus device. Always download software from trusted sources and verify the compatibility with your device.
By monitoring and managing your assets effectively, you can stay on top of your crypto investments and make informed decisions to optimize your portfolio.
FAQ
Here are some frequently asked questions about the Ledger Nano S Plus:
Can I use Ledger Nano S Plus with my smartphone?
No, the Ledger Nano S Plus does not have Bluetooth capabilities and cannot be directly linked to a smartphone. However, you can use the Ledger Live app on your smartphone to view your balances by exporting your accounts from Ledger Live on your computer and scanning the QR code with the app.
What should I do if I lose my recovery phrase?
If you lose your recovery phrase, you may permanently lose access to your crypto assets. It is crucial to keep your recovery phrase in a safe place and ensure that no one else has access to it. Ledger offers metal wallets that provide enhanced durability and protection for your recovery phrase.
How can I ensure the security of my assets?
To ensure the security of your assets, it is important to follow best practices, such as:
- Obtain your Ledger Nano S Plus from the official Ledger store to avoid potential tampering.
- Set up a unique and secure PIN number for your device.
- Store your recovery phrase in a secure location, such as a metal wallet or a safe.
- Only download applications and software from trusted sources.
- Regularly update your device firmware and applications.
- Verify any transactions on your device before confirming them.
Can Ledger Nano S Plus support all cryptocurrencies?
The Ledger Nano S Plus supports a wide range of cryptocurrencies, including popular ones like Bitcoin, Ethereum, Binance Coin, and Cardano. However, it may not support all cryptocurrencies. You can check the Ledger Live software or the official Ledger website for a complete list of supported coins.
What should I do if I encounter any issues?
If you encounter any issues with your Ledger Nano S Plus, you can reach out to Ledger's customer support for assistance. They can help troubleshoot any problems you may be experiencing with your device or software.
CRYPTO TIPS CRYPTO CASINO BONUSES (250+)